
Showing posts with label interior design. Show all posts
Showing posts with label interior design. Show all posts
Sunday, March 24, 2013

Friday, September 28, 2012
Some House Photos


Lets start at the beginning. Here are some before photos of the rooms in our house.


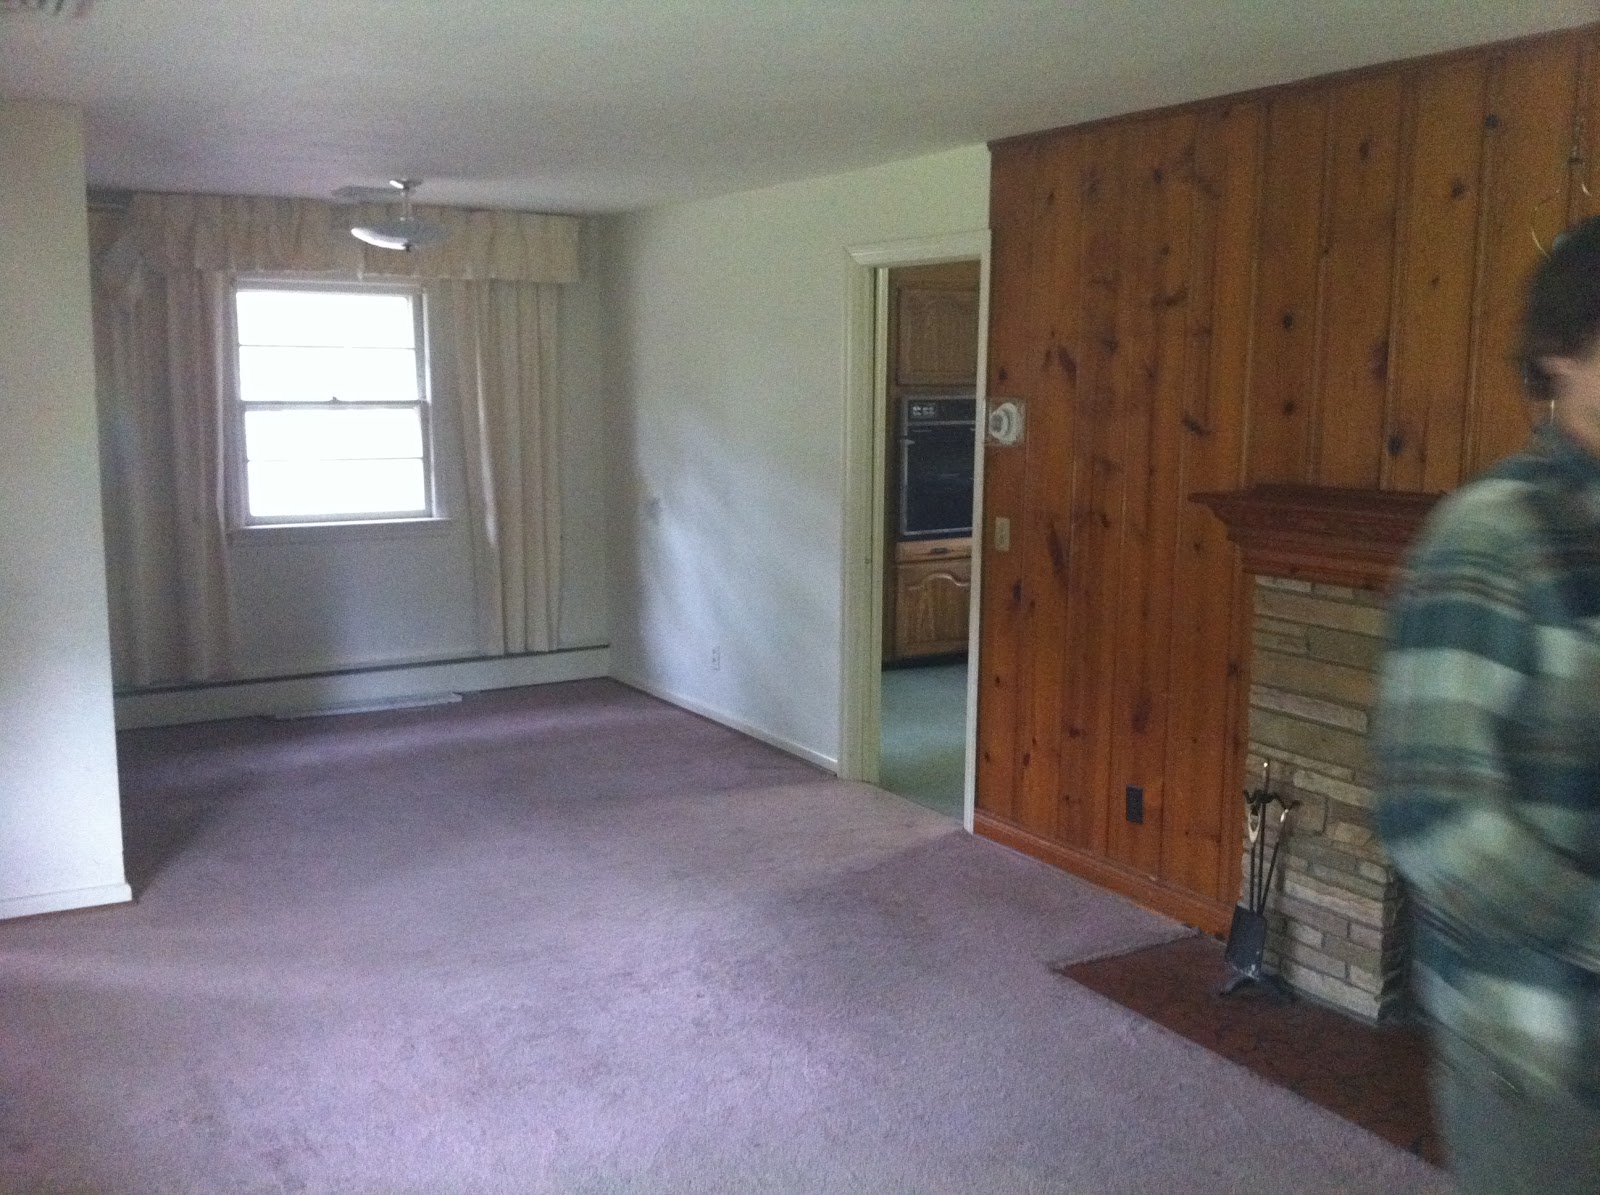
In the kitchen there were only cabinets on two walls, as you can see there was one entire side of the kitchen with a weird corner that jutted out. This really seemed like wasted space to us. Here I am striking a pose before demo started. Below you can see our living/dining room. I love how the two rooms are open to each other. This way we can watch tv and eat dinner and it just provides more seating/room. I didn't love the dark paneling wall to wall carpet and again gross curtains.

 Now for the gross dog room. We are using it as our office now but before dogs or cats had been kept in the room and the floor was chewed up and destroyed. The dark paneling on the walls didn't help any either. I can't seem to find any pictures of before we started to rip the tiles up. So here was a progress picture. Before there were teal and black tiles that were nasty on the floor.
Alright well thats a little "before" update, stay tuned for some "afters" and more details on the projects we have finished. It is so weird posting these photos, we've come a long way in such a short amount of time.
<3c p="p">
Tuesday, September 25, 2012
shutter color option 1
Just helping a friend imagine her house with a different paint scheme. Interested in something like this? Just email me at carla.mae.ryan@gmail.com and I would be happy to do the same for you! 
Thursday, August 23, 2012


Sunday, May 13, 2012

Monday, April 9, 2012

Friday, March 23, 2012
Recovering those chairs!
Recovering chairs really is simple, it just can be very time consuming. I was averaging 45min-1hr for each of the chairs. First pull out all of the staples. I used a screw driver to loosen the staple and then pliers to pull the staple out completely.


You will want to have some sort of small dish to put all of those staples in. By the time I was done with all 4 chairs I must have had 1,000 staples in mine! Here is a shot of mine after just a few minutes

Unfortunately I don't have too many more photos of the actual process, but basically you decide how you want the fabric to lay out and then use the piece of fabric that you take off of the chair as a template. Jenny over at Little Green Notebook has a very detailed tutorial if you are looking for more information! For these chairs I had to start in the back, after I did the entire back I went to the front and pulled the pattern tight and made sure it was centered. Then I stapled the front and then went over to the sides of the chair.
 And Now for some before and afters:
 Before, plain white cotton seat cushion..... and then:
Volia! Beautiful. For this particular pattern we weren't able to get too much of it on the seat at one time. However we did want these chairs to look nice from the back, as they are often pushed in and can be viewed from other rooms in the house

Coming up next the playroom!
Thursday, March 22, 2012

some projects...

I suggested she add some linen slipcovered chairs to the heads of the table, creating more seating and giving the set a more current look. The artwork needed to stay it was from her grandmother and had always been her favorite as a child. Little touches like that really help to make a room feel so personalized and special. I also suggested we recover the existing chairs in a linen fabric with a black scroll pattern on it. We also went with a dark grey/blue color on her walls to really make the trim pop and add some depth to the room.

She also had a beautiful buffet. I simply suggested that she bring it over to the side wall and add some buffet lamps and a large mirror behind it to add some visual height. Down the road adding something like a ginger jar in the center would again tie in the blue and really fit her style.
Here are some pictures of the chairs that I recovered. Stay tuned for before and after pictures of everything put together!
Friday, November 11, 2011

Sunday, November 6, 2011

Tuesday, October 18, 2011


Subscribe to:
Posts (Atom)